
Add your class schedule
Class schedules automatically block time on your BetterCampus Planner so you won't accidentally schedule study sessions during class.
Why it matters
When your class times appear directly on your Planner calendar, you can see at a glance when you're free to study. This prevents double-booking and helps you plan realistic work sessions around your actual schedule—no more realizing you scheduled a study block right when you have lecture.
Open class schedules
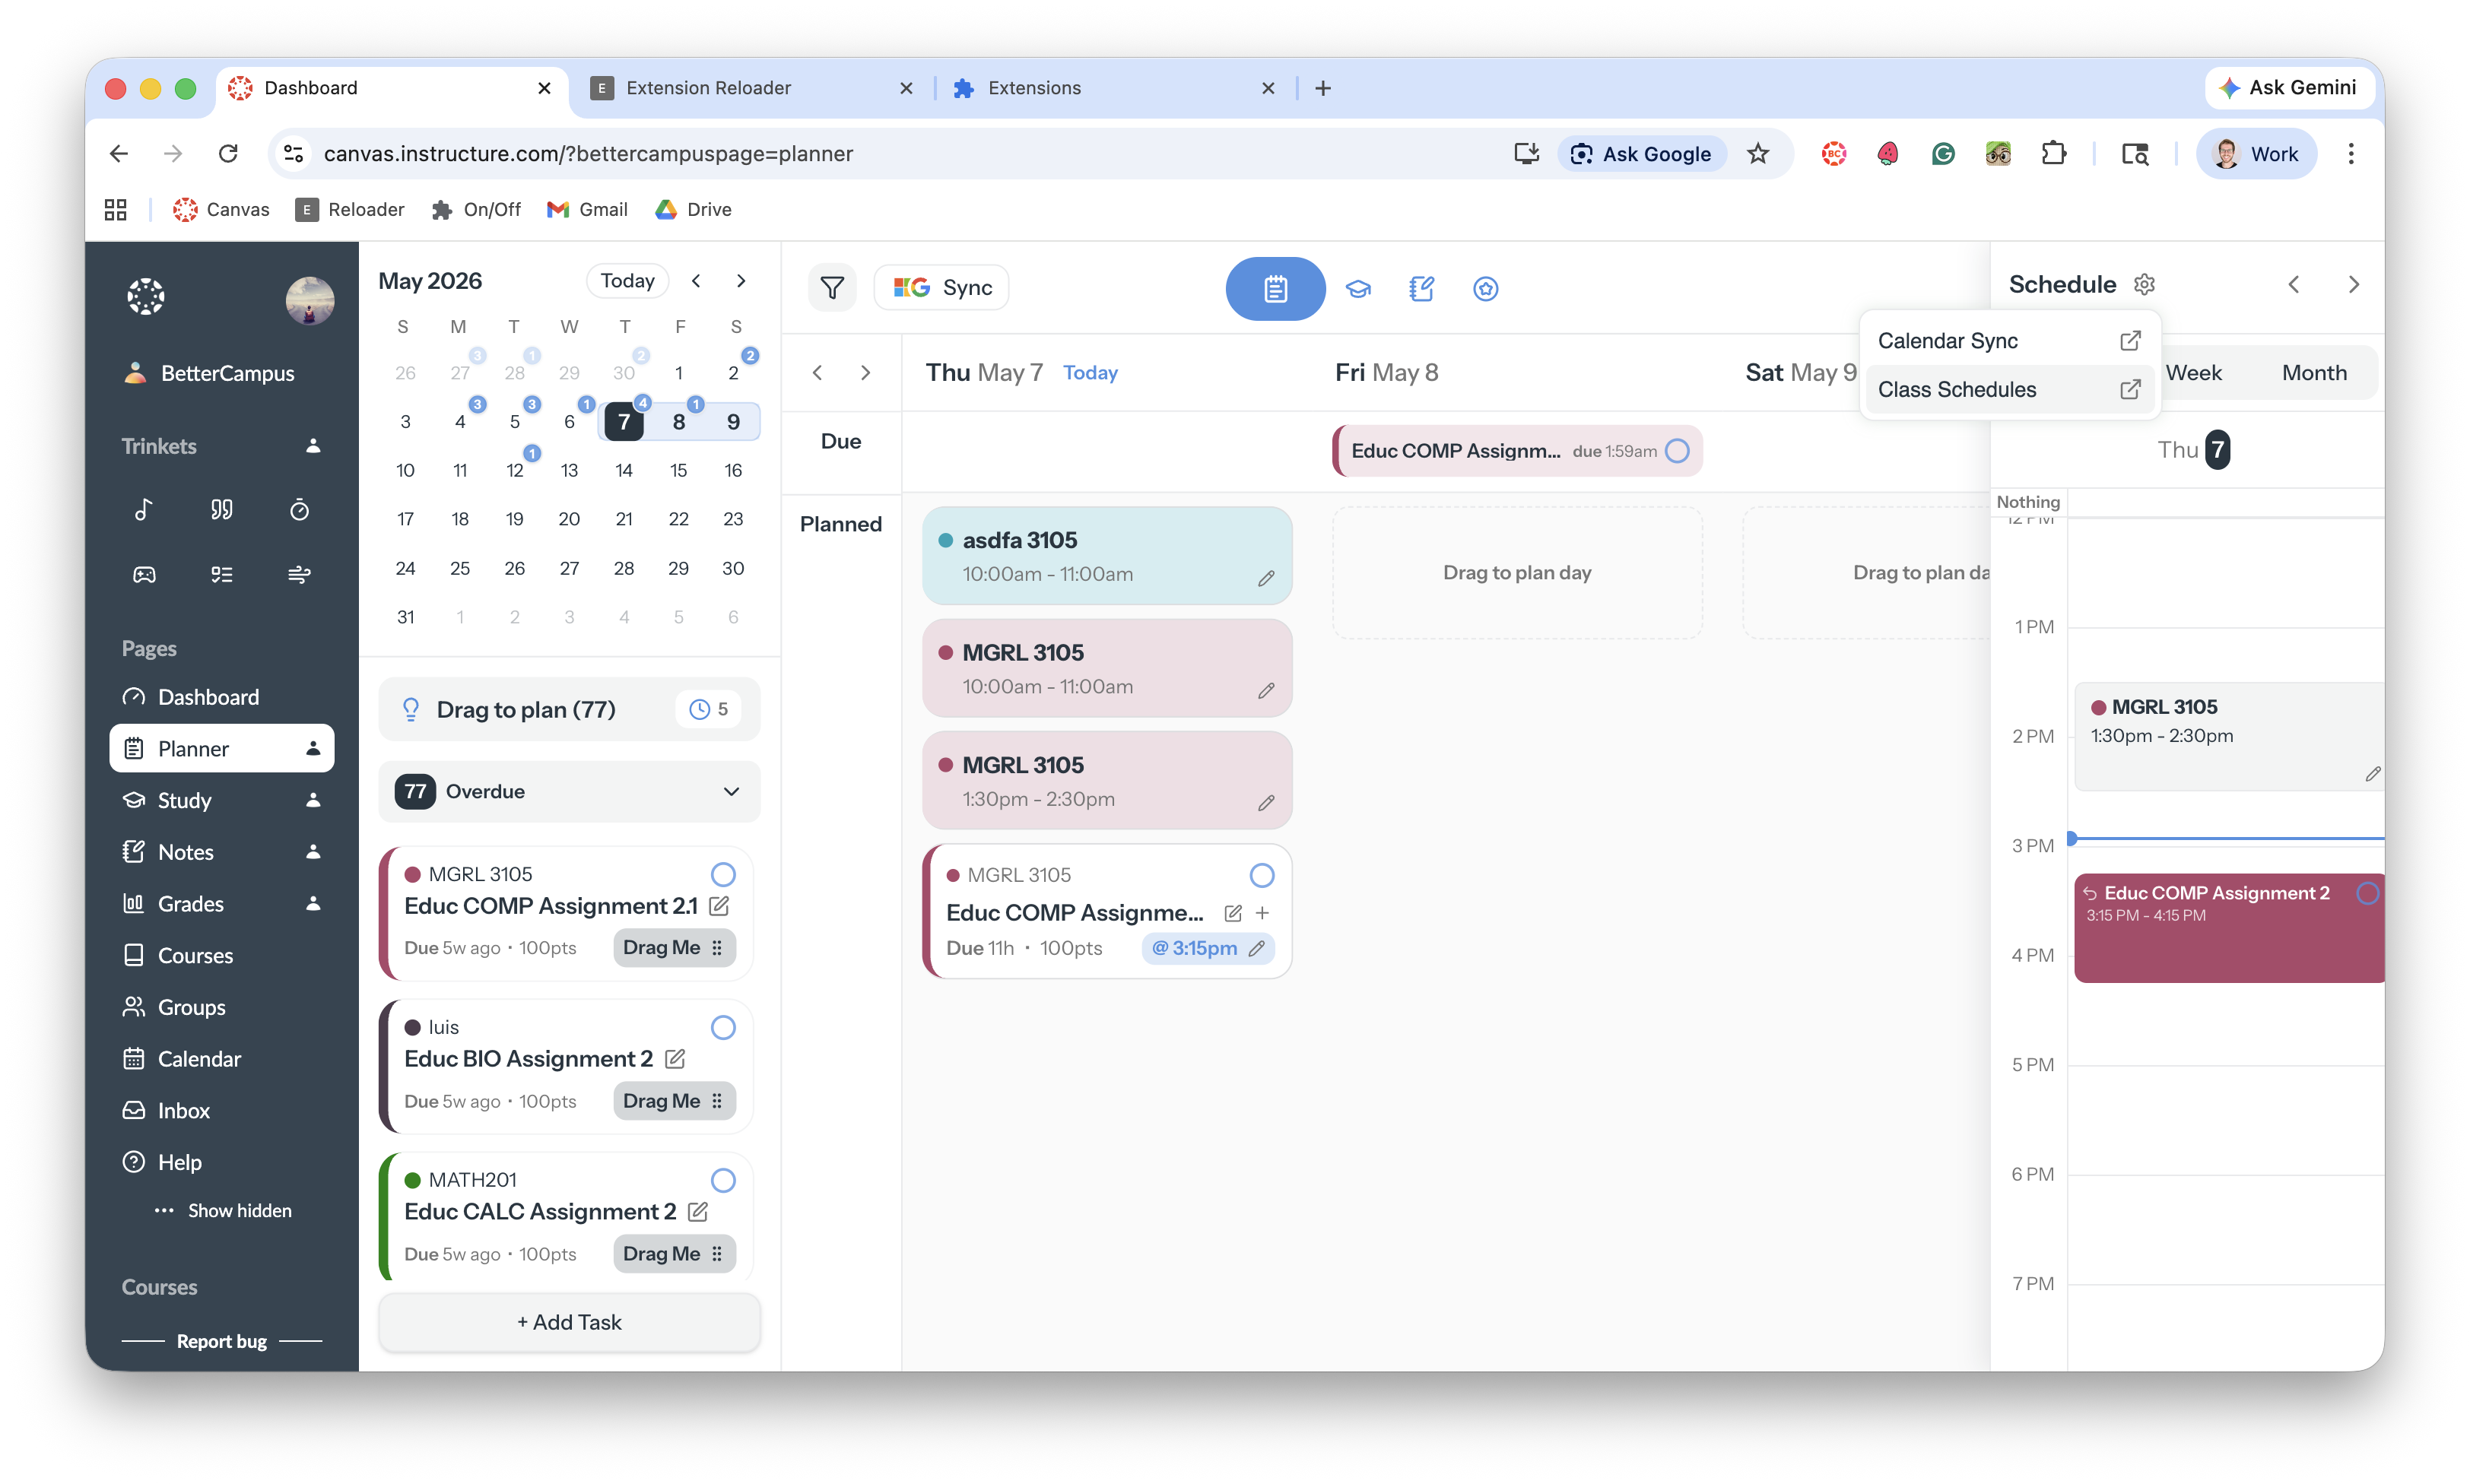
Open the Planner from the BetterCampus sidebar
Click Schedule at the top of the planner
Select Class Schedules from the dropdown
Understanding the panel
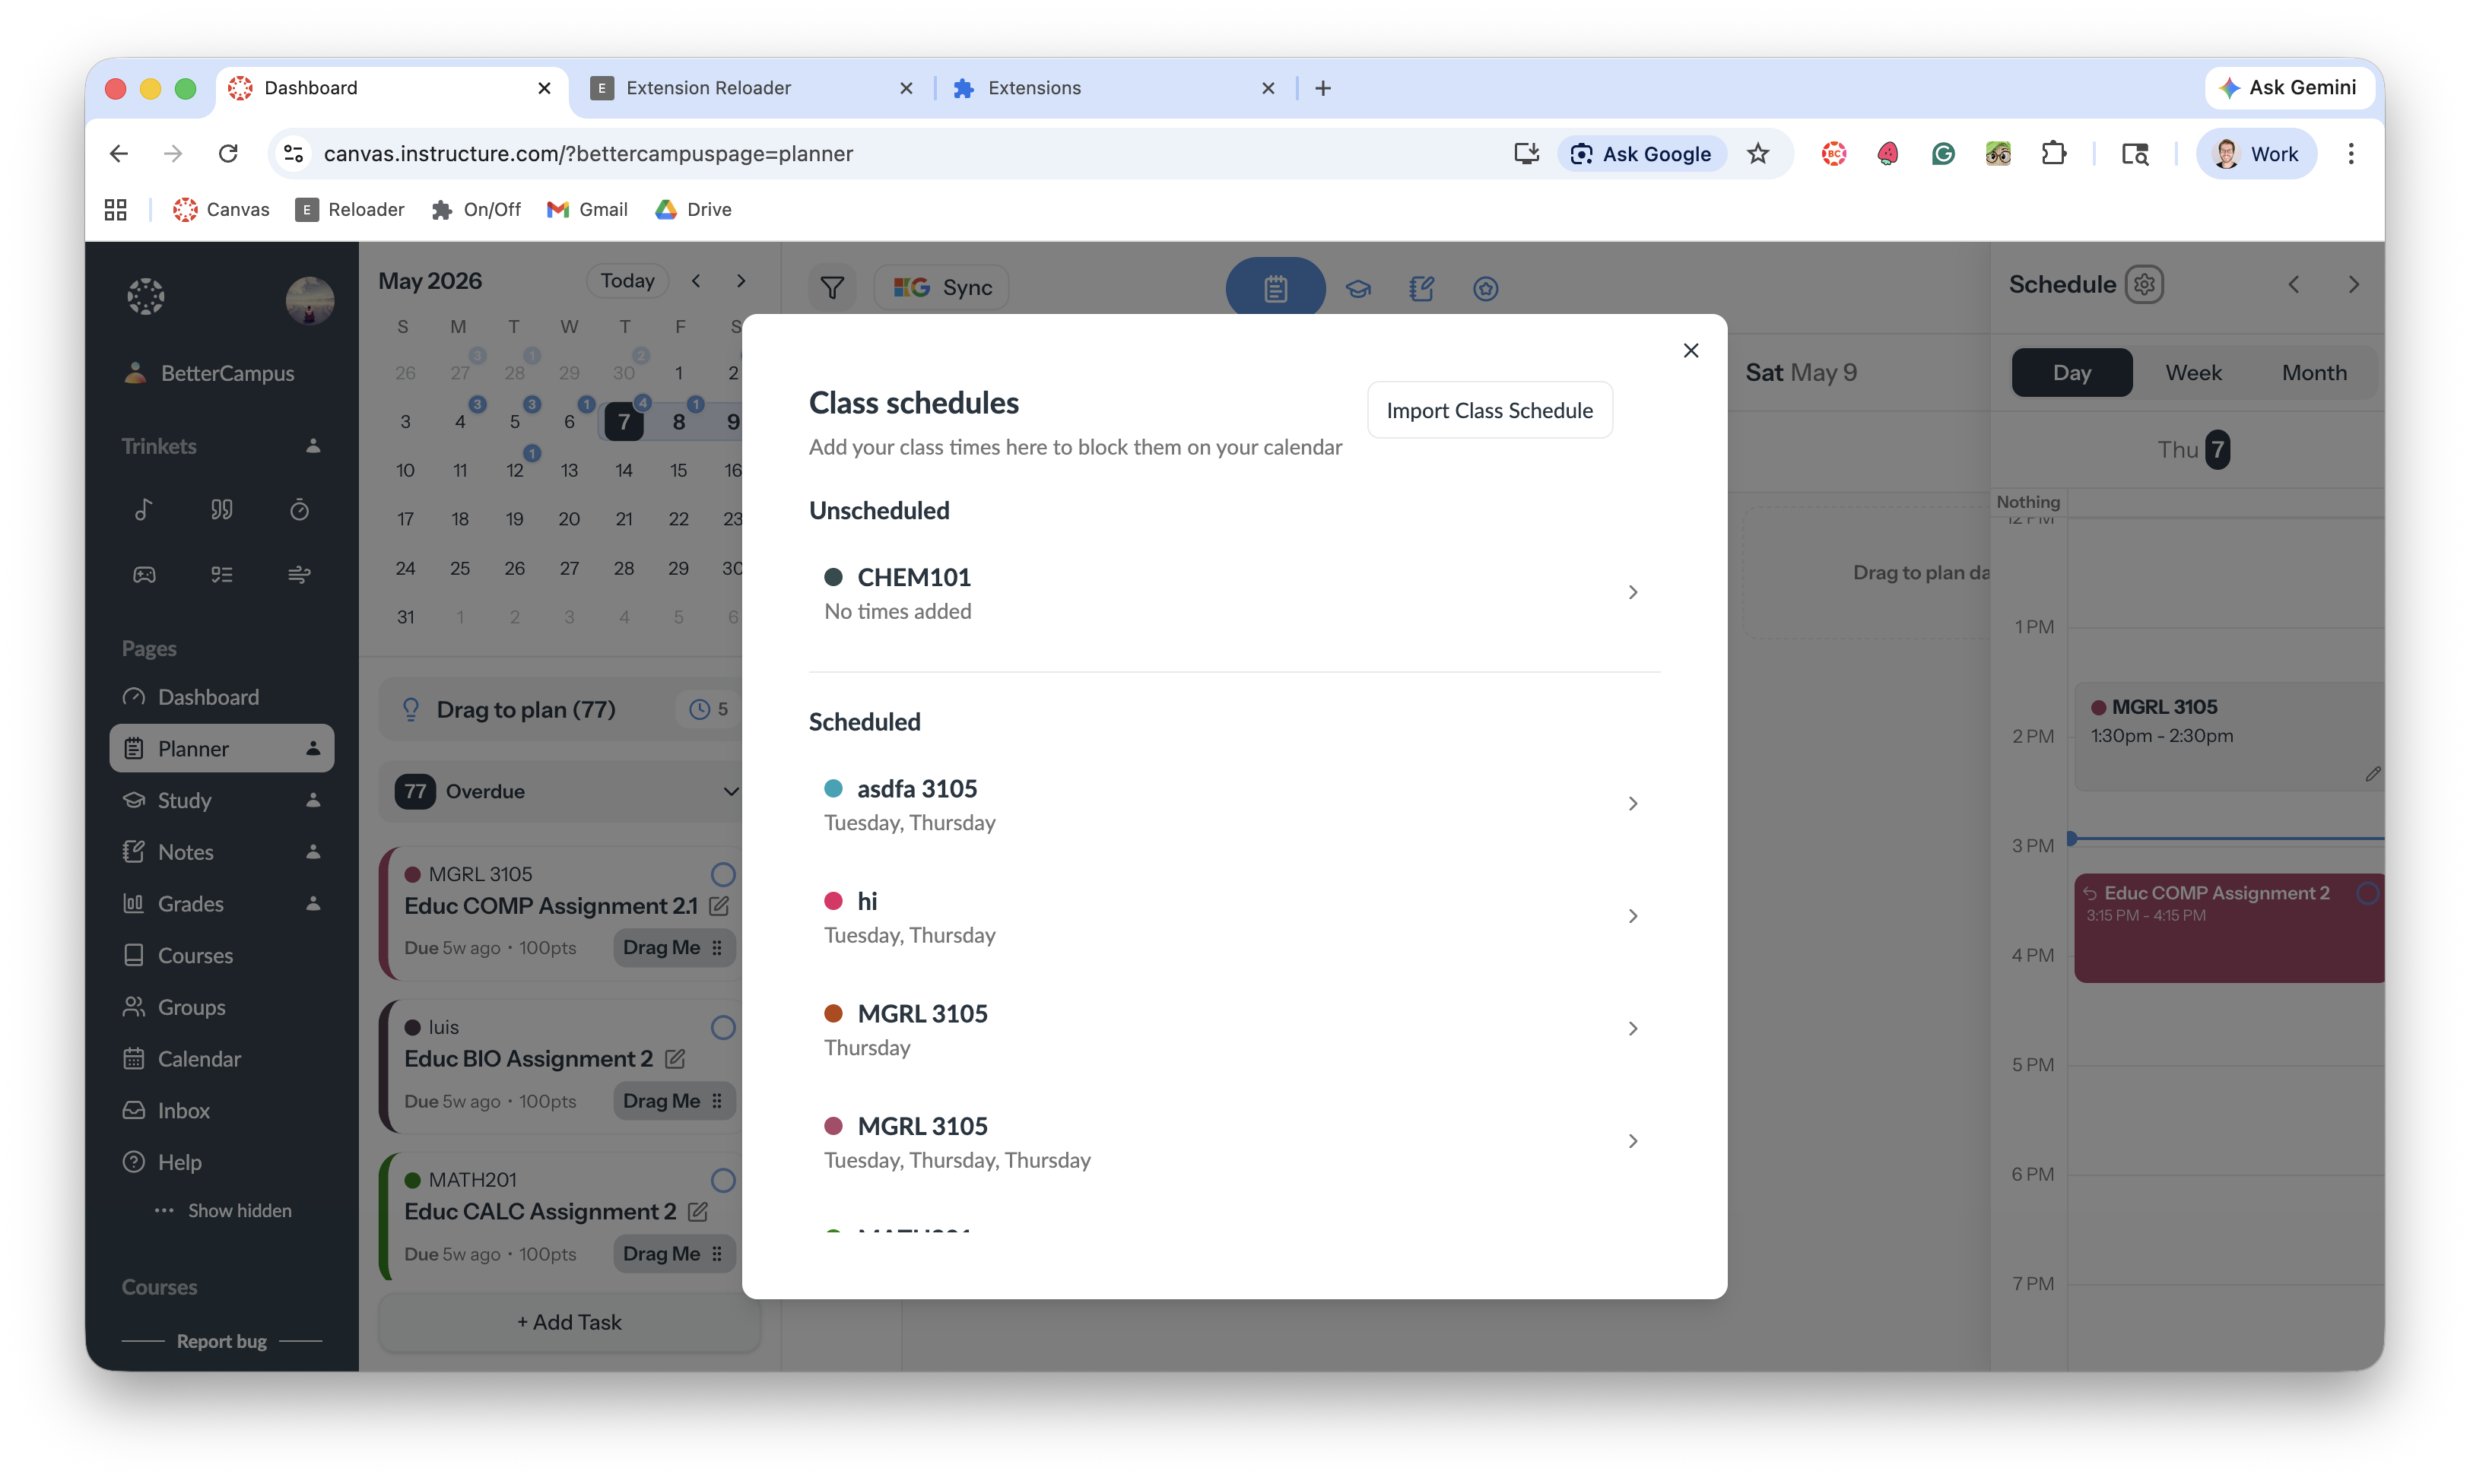
The class schedules panel shows your courses in two sections:
Scheduled — Classes you've already added with their meeting days and times
Unscheduled — Courses from Canvas that don't have times yet
Add your class times
You have two options:
Import from Canvas
Click Import Class Schedule to pull your schedule directly from Canvas. BetterCampus will automatically add your class times to the planner.
Add times manually
If your Canvas courses don't have meeting times, or if you want to adjust them, you can add times manually for each course in the Unscheduled section.
What happens next
Once your classes are scheduled, they appear as time blocks on your Planner calendar. You can still add tasks, drag them to open time slots, and plan your work—just now with your actual class schedule visible so you never double-book yourself.
For more planning tools, see Planner overview.